
Step 1
Select a base image. In this example, I’m using Shutterstock image You do not have permission to view the full content of this post. Log in or register now.. For best results, choose an image that has bright colors, distinct shapes, and a flat background. Because this effect purposely pixelates the image, anything with fine details or patterning won’t turn out as well.
Step 2
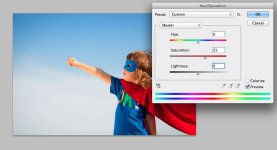
The first thing we want to do is boost the saturation of our image to capture all its bright colors. Open the Hue/Saturation menu (Image > Adjustments > Hue/Saturation) and boost the saturation to at least 25, or until your colors start to pop.
Step 3
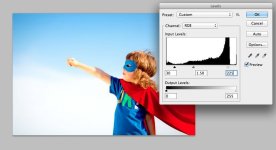
Next, we want to increase the contrast of our image. Navigate to Image > Adjustments > Levels. Pull the black-and-white input-level tabs inward until you start to see more definition in your photo. You can use the values shown above, or play with varying levels based on the image you’re using.
Step 4
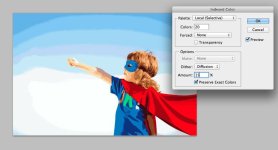
For a true pixelated look, we need to reduce the number of colors that are actually used in our image. To do so, go to Image > Mode > Indexed Color, and copy the settings shown above.
Step 5
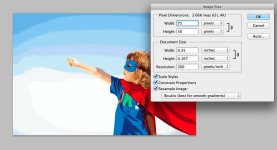
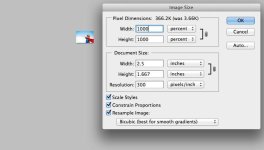
With our colors set, we can start playing with our image size to create the effect of oversized pixels. First, open Image > Image Size, reduce the Pixel Dimensions to 75 pixels wide, and click OK.
Step 6
Because Photoshop is trying to maintain the image resolution, you’ll see that your image has shrunk dramatically. To fix this, open the Image Size window again. This time, change the Pixel Dimensions setting from pixels to percent. We’re going to stretch the picture back up to size by increasing the dimensions 1000 percent. Depending on the size of your original image, you may need to increase or reduce this amount. Always keep the percentage rounded to the nearest 100 and your photo will have the same effect.
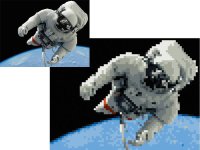
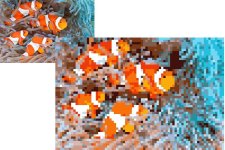
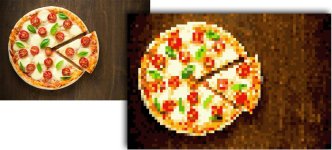
When your image is blown back up to full size, you’ll see that the fine lines of your photograph have been replaced with oversized pixels of color.

You can also play around with a few different elements to change the final product:
– In Step 4, try changing the number of colors used: more colors create a softer end result, while fewer colors create a more dramatic and abstract look.
– Increase or decrease the number of pixels in Step 5 to change the size of the pixels in the final product. Increasing this number will mean smaller blocks in the final result; decreasing this number makes for bigger blocks at the end.
To spark your own creative genius, here are a few more before and after images using this technique:
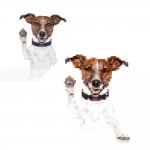
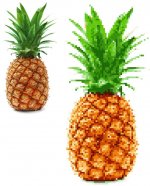
~ctto
Source: You do not have permission to view the full content of this post. Log in or register now.
------------------------------------------------------------------------------------------------------------------------------------
Attachments
-
You do not have permission to view the full content of this post. Log in or register now.
Last edited by a moderator:
