samscophil
Addict
- Joined
- Aug 3, 2015
- Posts
- 29
- Reaction
- 103
- Points
- 88
- Age
- 32
STEP 4: Install macOS Mojave
You’re almost done! All you need to do is boot from the USB drive and install it! For best results, insert the USB in a USB 2.0 port.
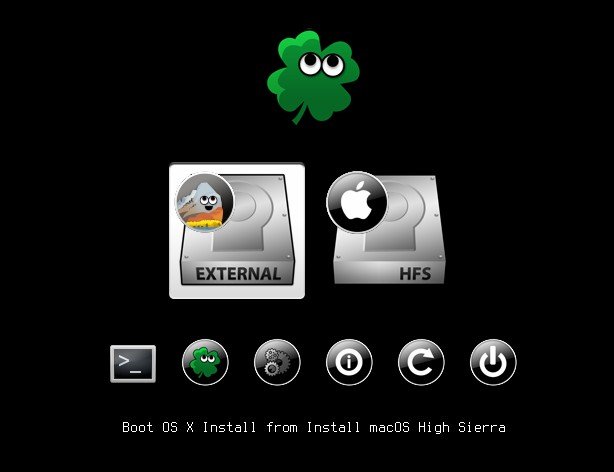
6. For a new installation of macOS, you MUST erase and format the destination drive according to the following steps before continuing.
a. In the top menu bar choose Utilities and open Disk Utilityb. Highlight your target drive for the Mojave installation in the left column.c. Click Erase buttond. For Name: type Mojave (You can rename it later)e. For Format: choose Mac OS Extended (Journaled)f. Click Eraseg. Close Disk Utility

STEP 5: Post Installation with MultiBeast
MultiBeast is an all-in-one post-installation tool designed to enable boot from hard drive, and install support for Audio, Network, and Graphics. The installation is complete, but the drive isn’t bootable yet. Boot from the USB again, this time choosing Mojave.
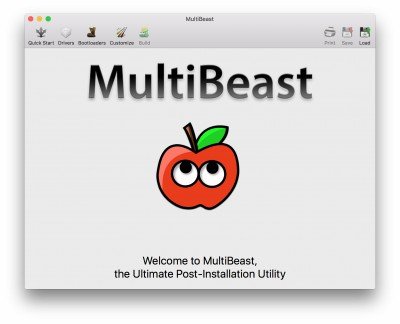
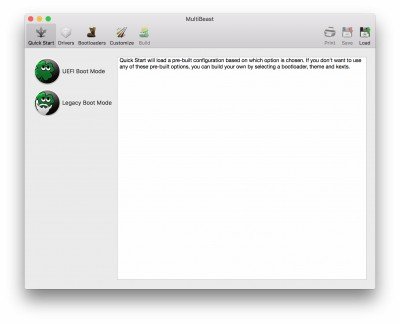
6. If this is a fresh installation, click QuickStart. UEFI Boot Mode is recommended for 7/8/9/100/200/300 Series CustoMac desktops and all UEFI capable systems. Legacy Boot Mode is recommended for 5/6 Series CustoMac desktops and all BIOS-based systems.
You do not have permission to view the full content of this post. Log in or register now.
If using a GeForce GTX 1050, 1050 Ti, 1060, 1070, 1070 Ti, 1080, 1080 Ti, TITAN Pascal, and TITAN Xp ‘Pascal’ graphics card or NVIDIA GeForce GTX 750, 750 Ti, 950, 960, 970, 980, 980 Ti, and TITAN X ‘Maxwell’ graphics card, macOS Mojave graphics drivers are not natively supported. Alternate NVIDIA drivers are required.
Note: Alternate NVIDIA Graphics Drivers are not available yet- if you have a Maxwell or Pascal-based NVIDIA card, stay on High Sierra for now.
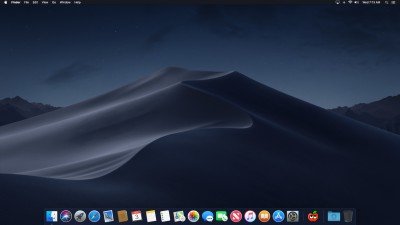
Yay! You now have a fully updated bootable version of macOS Mojave on your CustoMac! And a super handy USB rescue drive. It’s easy to get frustrated, but don’t give up! If you get stuck, there are many users with similar hardware in the tonymacx86 Forum to provide support.
Thanks to all of the hard-working developers, häçkers, and testers all over the world without whom this guide would never have been possible.
Tested Systems;
You’re almost done! All you need to do is boot from the USB drive and install it! For best results, insert the USB in a USB 2.0 port.
- Turn on the computer
- Press the hotkey to choose boot device (F12 for Gigabyte motherboards, F8 for ASUS motherboards, F11 for ASrock motherboards)
- Choose USB
- At Clover boot screen, choose Boot OS X Install from Install macOS Mojave
- When you arrive at the Installer, choose a language.
6. For a new installation of macOS, you MUST erase and format the destination drive according to the following steps before continuing.
a. In the top menu bar choose Utilities and open Disk Utilityb. Highlight your target drive for the Mojave installation in the left column.c. Click Erase buttond. For Name: type Mojave (You can rename it later)e. For Format: choose Mac OS Extended (Journaled)f. Click Eraseg. Close Disk Utility
- When the installer asks you where to install, choose Mojave
- Upon completion, the system will automatically restart.
- Press the hotkey to choose boot device (F12 for Gigabyte motherboards, F8 for ASUS motherboards, F11 for ASrock motherboards)
- Choose USB
- At the Boot Screen, choose Mojave
- Complete macOS installation. The system will automatically reboot.
STEP 5: Post Installation with MultiBeast
MultiBeast is an all-in-one post-installation tool designed to enable boot from hard drive, and install support for Audio, Network, and Graphics. The installation is complete, but the drive isn’t bootable yet. Boot from the USB again, this time choosing Mojave.
- Press the hotkey to choose boot device (F12 for Gigabyte motherboards, F8 for ASUS motherboards, F11 for ASrock motherboards)
- Choose USB
- At the Boot Screen, choose your new Mojave installation.
- Complete macOS setup
- Open and run You do not have permission to view the full content of this post. Log in or register now.
6. If this is a fresh installation, click QuickStart. UEFI Boot Mode is recommended for 7/8/9/100/200/300 Series CustoMac desktops and all UEFI capable systems. Legacy Boot Mode is recommended for 5/6 Series CustoMac desktops and all BIOS-based systems.
- Choose the appropriate Drivers options for your system.
- Click Customize for further options
You do not have permission to view the full content of this post. Log in or register now.
- Click Print or Save to back up your configuration
- Click Build then Install

If using a GeForce GTX 1050, 1050 Ti, 1060, 1070, 1070 Ti, 1080, 1080 Ti, TITAN Pascal, and TITAN Xp ‘Pascal’ graphics card or NVIDIA GeForce GTX 750, 750 Ti, 950, 960, 970, 980, 980 Ti, and TITAN X ‘Maxwell’ graphics card, macOS Mojave graphics drivers are not natively supported. Alternate NVIDIA drivers are required.
Note: Alternate NVIDIA Graphics Drivers are not available yet- if you have a Maxwell or Pascal-based NVIDIA card, stay on High Sierra for now.
- (Optional) Download and install Alternate NVIDIA Graphics Drivers
- Reboot
Yay! You now have a fully updated bootable version of macOS Mojave on your CustoMac! And a super handy USB rescue drive. It’s easy to get frustrated, but don’t give up! If you get stuck, there are many users with similar hardware in the tonymacx86 Forum to provide support.
Thanks to all of the hard-working developers, häçkers, and testers all over the world without whom this guide would never have been possible.
Tested Systems;
- Asus Z170 Deluxe, i7 6700k, RX 580
- Ryzen 3 1200, Asrock AB350, GTX 680
- HP Pavillion, q8300, GT 220, GT 630
Attachments
-
You do not have permission to view the full content of this post. Log in or register now.